
Manage Mavis Tables
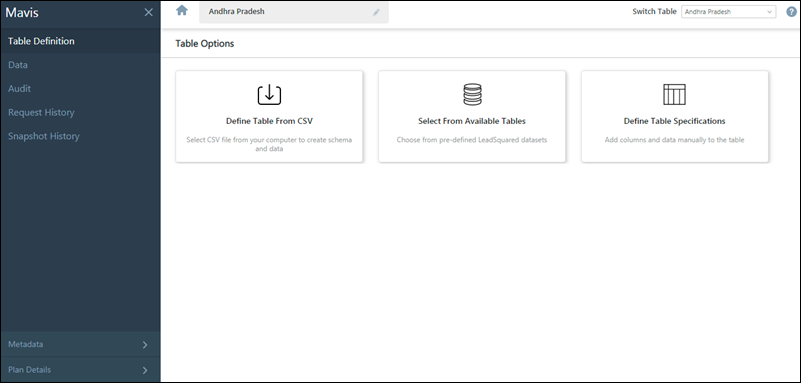
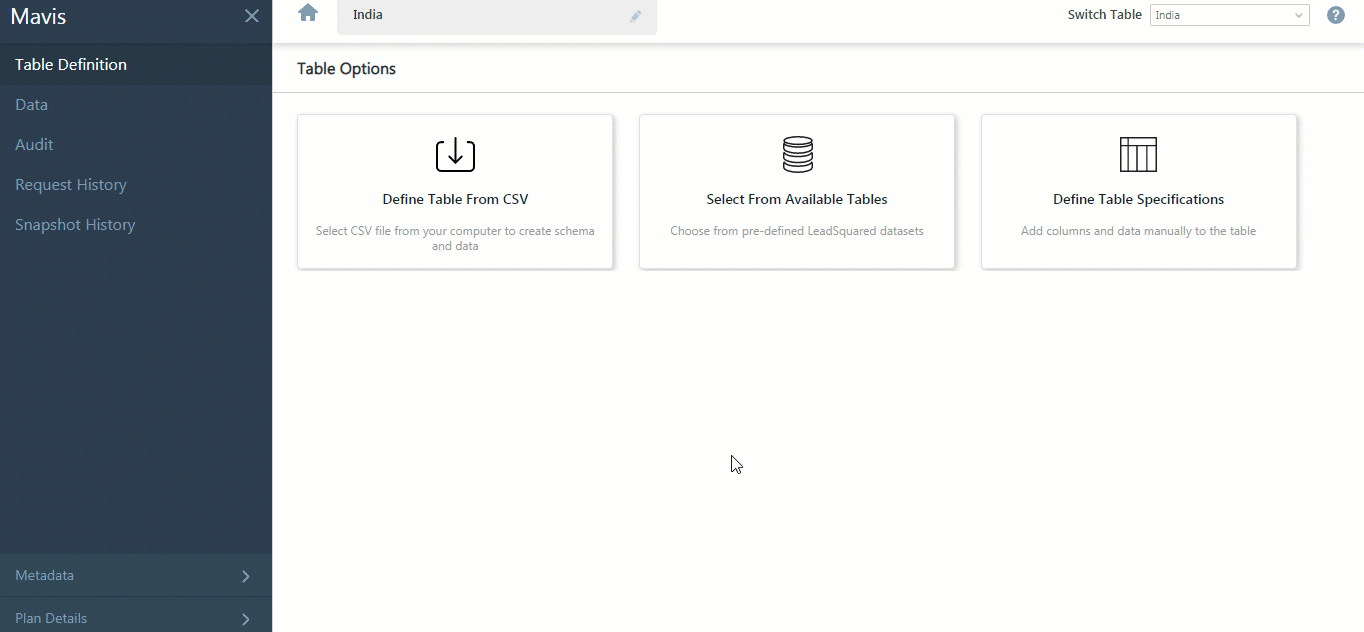
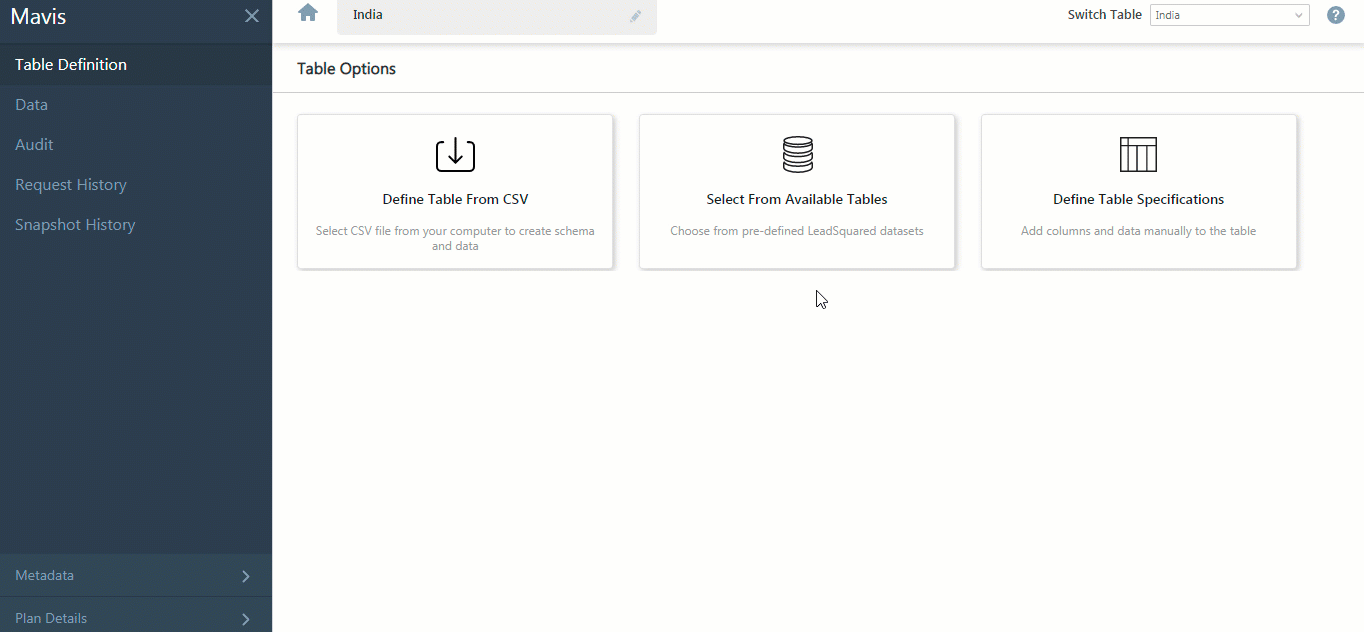
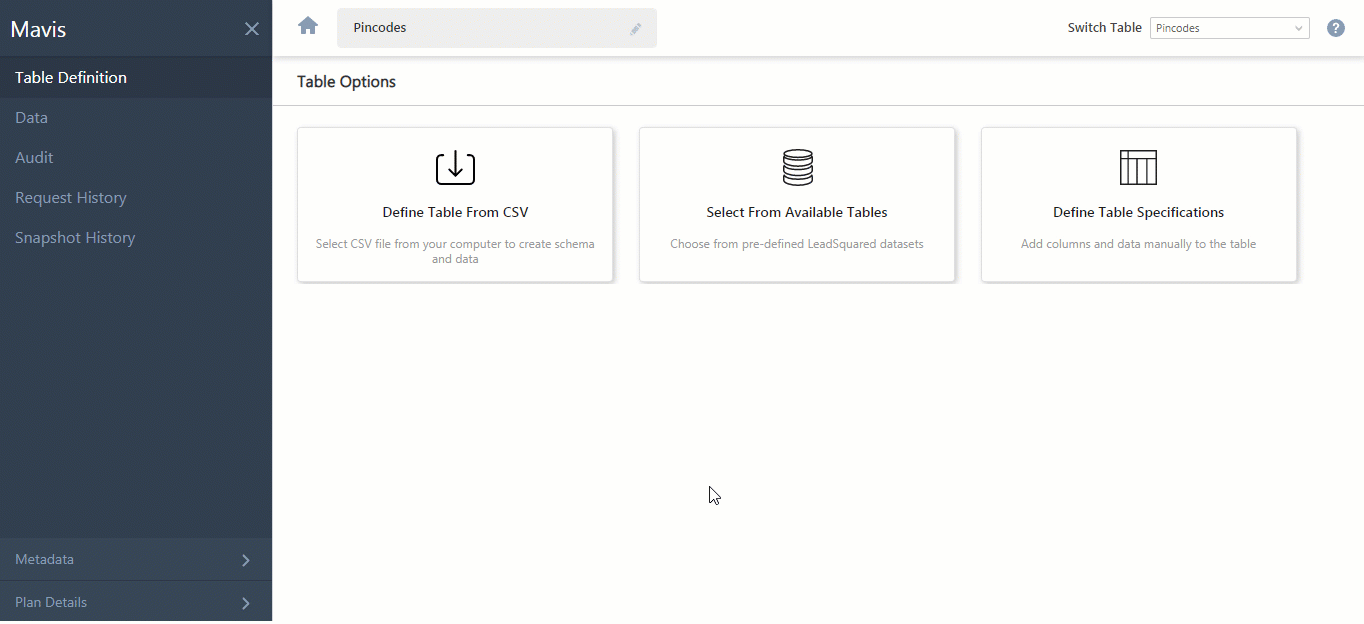
Once you’ve created a table, you can set up the table definition in one of the following ways –
- Define Table From CSV
Define a table schema by directly uploading a CSV file with your data. Columns in the CSV file are automatically added as Table Column in the Mavis DB. You just need to define the data types and formats and you’re good to go. - Select From Available Tables
Choose from a list of pre-defined tables provided by LeadSquared. Each table is provided with a description of the stored data. - Define Table Specifications
Manually define the table schema, and then add data to the table manually, or through a CSV file with columns that match your defined schema.
Define Table From CSV
This option allows you to upload a CSV file, and define the column schema and add data in one go. It is quicker than the Define Table Specifications option, where you have to first manually define the column schema, and then upload the CSV file to populate the table.
To import an existing CSV file, and to define the table schema based on the file –
- Upload your CSV file that contains data into LeadSquared.
- A sample file is also available for download.
- From the Date/Time format dropdowns, specify the Date, Time and DateTime formats in the CSV file (if available), and click Next.
- On the Table Definition tab, by default –
- All the Datatypes are set as a String value, and all the columns are marked Is Nullable.
- The Mavis Column Name is the same as the CSV Column Name.
- To change the Column Names, Column Ids, Datatypes and Column properties, please refer to the Define Table Specifications section below.
- Once you set the Table Definitions, click Next.
- On the Validation tab, if –
- All the rows are successfully validated, click Next.
- The validation of some rows have failed, please refer to the Validation section in Table Data screen.
- Once the Validation is successful, to begin the Table Import process, click Next.
- To view the import status, from the Summary screen, click Check Status of Your Request.
Note:
- When the Table Import is in progress –
- All data operations (such as Add Rows, Update Rows, Delete Rows, Truncate Table and Import Data) requests will be queued, until the data is imported.
- You will not be able to Add, Edit or Delete a column.
- You will not be able to perform the Restore Table action.
- In a single Import action, you can import up to 1-lakh (100,000) rows.
- The only file format supported while importing is a “.csv” file in the UTF-8 format.
- To perform the Define Table from CSV action for columns with User data type, first, select the Data Type for that column as User, and then select the import method as either User Id, Email, or JSON object as specified in the CSV.
Select From Available Tables
To select and import a table into your database –
- On the Table Definition screen, click Select From Available Tables.
- From the Available Tables screen, click on the relevant table you want to import and click the Use This Dataset button.
- On the Import Table pop-up, click Import.
Notes:
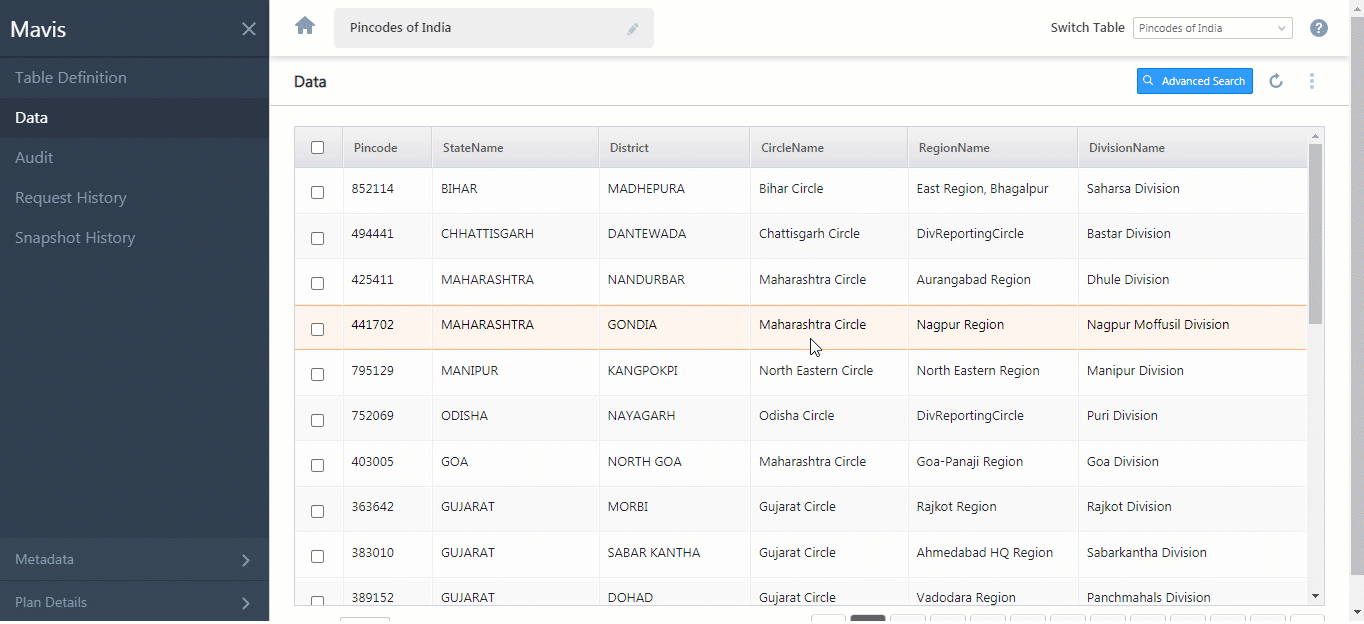
- To view the data stored within the table, on the Table Definition screen, click
 Preview.
 - To know the import status, click the Check Status of Your Request button. This will redirect you to the Request History page, where you can view the status.
- You cannot add, edit or delete a column within the table, or restore the table, when the Import Table status is “Table Operation Queued” or “Table Operation In-Progress”.
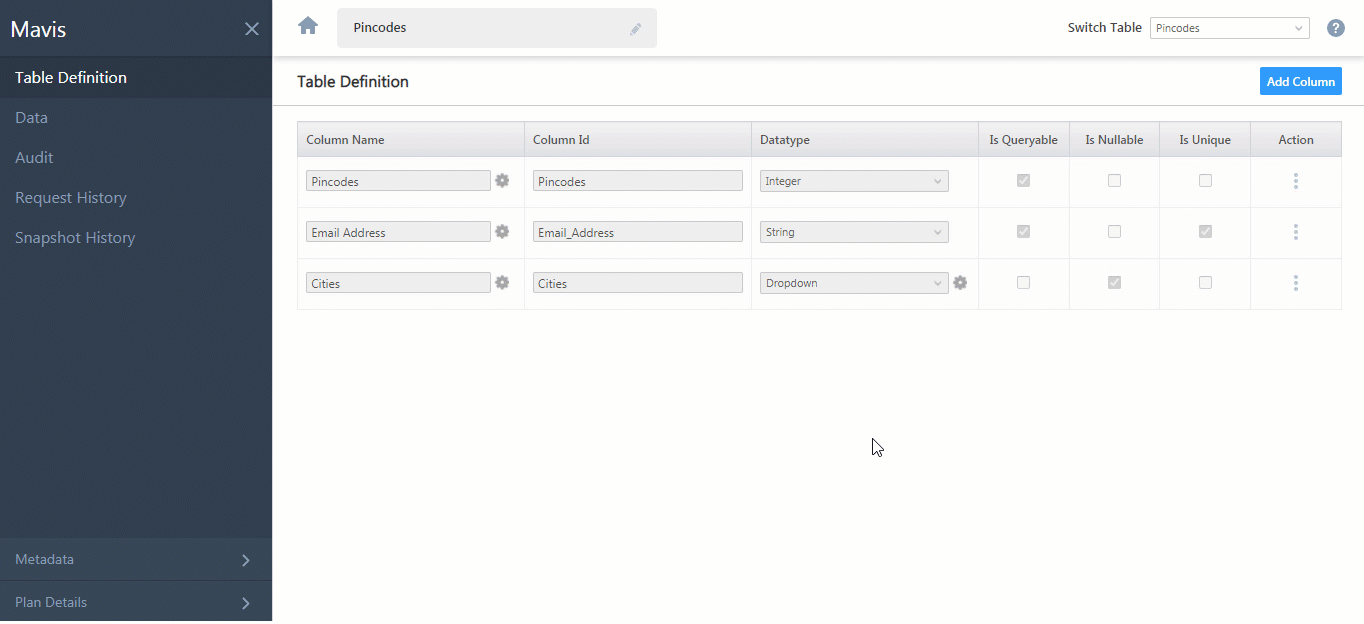
Define Table Specifications
On the Table Definition screen, click Define Table Specifications.
Add Custom Fields As Columns
Columns can store data across different data types (see table below for a list of supported data types). You can add up to 50 custom or system columns to your table.
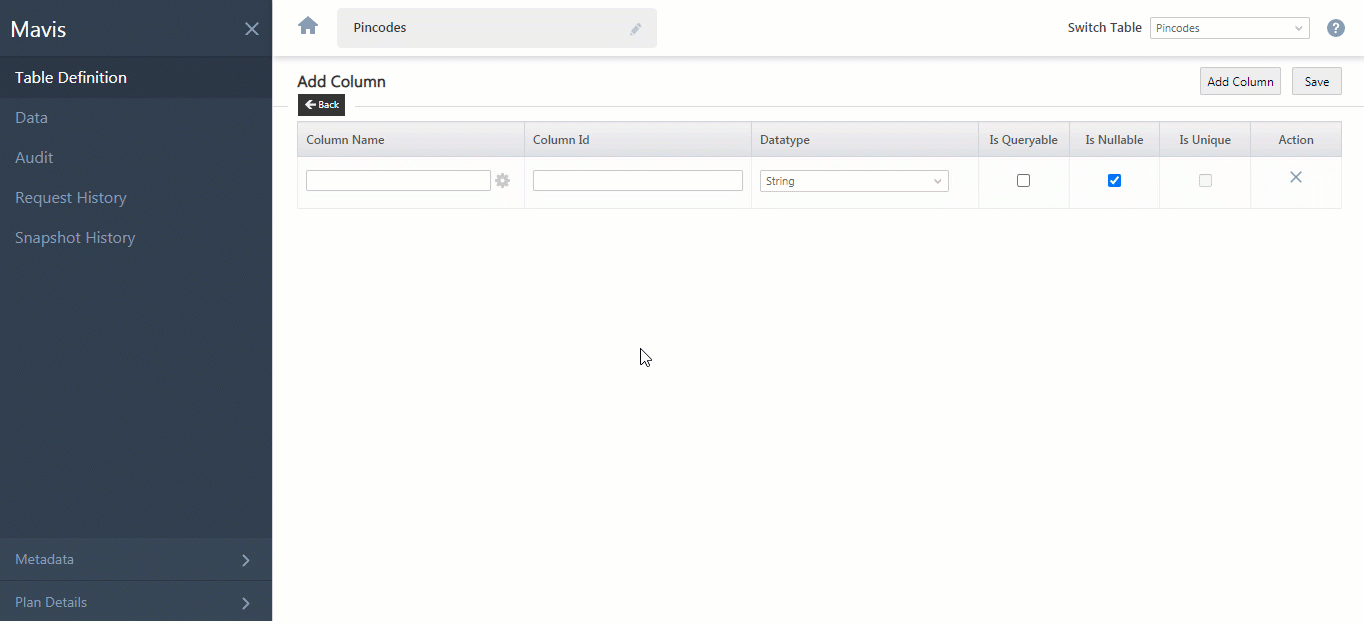
To add a new custom column to your table –
- Click the Add Column button to add a new column.
- Once you’re done adding and configuring columns, click Save.
Note: To increase the maximum number of columns in your table, please get in touch with your account manager, or write to support@leadsquared.com.
If you select Dropdown as the data type –
- Against the column marked as Dropdown, click the
 icon.
icon. - On the Dropdown pop-up, against Allowed Option, enter the list of dropdown values. For eg, if the dropdown is for cities, then the values are Bangalore, Mumbai, New Delhi, etc.
- To allow users to select multiple options on the dropdown, against Allow Multiple Selection, enable the
 slider.
 - To display a blank value as the default dropdown value, against Add Blank Row, enable the
 slider.
 - Once you’re done, click Save.
| Property | Description |
| Column Name | The display name for the column.
|
| Column Id | The Column Id is the schema name for the column.
While entering the Column Name, this gets auto-populated as the Column Id. If the Column Name contains a space in-between two words, this is replaced by an “_” in the Column Id. For e.g., if the Column Name is “Email Address”, the Column Id will be “Email_Address”. If required, you can edit the Column Id while creating the column.
|
| Datatypes | The list of supported data types are –
To see restrictions for each data type, refer to the table below. |
| Is Queryable |
|
| Is Nullable |
|
| Is Unique | To mark a column as unique (a column that contains unique values, such as email address, mobile number, PAN number, Social Security Numbers, etc.), please click the |
Datatype Conditions
The conditions for each Datatype are –
| Datatype | Is Queryable | Is Nullable | Is Unique | Comments |
| String | A string can contain any character, with a maximum character limit of 500. | |||
| CommaSeparatedString | ||||
| Text | If the Mavis feature was enabled on your account after 5th December 2022, text fields have a 10,000-character limit. | |||
| Integer | Integer can contain any positive or negative whole number, with a maximum digit limit of 18 (the value is rounded off up to 16 digits, with two zeroes). | |||
| Decimal | Decimal can contain any positive or negative float value, including 0. | |||
| Date |
|
|||
| Time |
|
|||
| DateTime |
|
|||
| Boolean | Boolean can only contain true/false values, in case-insensitive order. | |||
| Dropdown |
|
|||
| JSON | JSON values should be in valid JSON format.
If the Mavis feature was enabled on your account after 15th December 2022, JSON fields have a 10,000-character limit. |
|||
| Coordinate |
|
|||
| Image | If the Mavis feature was enabled on your account after 5th December 2022, image fields have a 2,000-character limit. | |||
| User* |
|
|||
| Lead** |
|
Add System Fields As Columns
Track and manage the creation and modification of records in a Mavis table. You can add the following system fields as columns in your table –
- Created On (DateTime datatype) – It captures the time stamp when the record was added to the table.
- Created By (String datatype) – It captures the user who added the record.
- Modified On (DateTime datatype) – It captures the time stamp when the record was last modified.
- Modified By (String datatype) – It captures the user who last modified the record.
To add system fields as columns –
- Alongside Add Column, click
 .
. - Under Add System Fields, alongside the relevant field, click Add.
Note:
-
- Only export operations can be performed on system columns.
- All values in system fields are auto-captured and cannot be manipulated.
- The CreatedOn & ModifiedOn time stamp will be displayed in UTC format.
Configure a User Type Column
*To configure a column containing the User data type –
- On the Table Definition screen, click Add Column.
- Give a relevant name for the column, and from the Datatype dropdown, select User (for which default configurations will be present). If you choose to modify any of these configurations, click
 .
.
- On the User pop-up, under the Select Users & Data References Fields tab, you can modify the following configurations –
- Allow Access To – From the following options, select the LeadSquared user whose records you want to store in your table –
- All Users – All the active users present in your account will be available in the dropdown when adding/updating the User column.
- Based On Role(s) – The records for the selected user roles will be available in the dropdown when adding/updating the User column. You can select all four user roles if required – Administrator, Marketing User, Sales Manager and Sales User.
- Based On Team(s) – Select the LeadSquared Teams created in your account. The records of all the users present in the selected team will be available in the dropdown when adding/updating the User column.
- Required Data Reference Fields – Select the system (default) user fields you want to display in your table. The User Id and Email Address fields are mandatory, and you cannot remove either. In addition to these two fields, you can add another eight user fields (10 in total).
- Allow Access To – From the following options, select the LeadSquared user whose records you want to store in your table –
- On the User pop-up, under the Select Users & Data References Fields tab, you can modify the following configurations –
- Once you’re done, click Next.
- The User Search & Display Configurations tab is a read-only tab. The Email Address, First Name and Last Name fields are the user fields which can be used to search and identify users from your LeadSquared account. To continue, click Save.
- If required, you can make the column Queryable and Nullable. Once you’re done, click Save.
The user data type column is now added to your table, and the data based on the user type and user fields selected will get populated in the table.
Note:
- You can only associate the following System User fields to the users present in your Mavis database –
- First Name
- Last Name
- City
- State
- Country
- Phone Number
- Role
- Zip Code
- Team Id
- Team Name
- The user field values displayed in the table are static, and the field value in the table will not change if there’s a change in the user field value in your LeadSquared account.
For e.g., a Row is added with the User column which contains the First Name value as “John”. After a few weeks, if this First Name value for the user is updated to “John Smith” in the LeadSquared account, the User column value will still reflect the First Name as “John” for that record. - To enable the User data type for your Mavis account, contact your account manager, or write to support@leadsqured.com.
Configure a Lead Type Column
**Configure a column containing the Lead data type –
- On the Table Definition screen, click Add Column.
- Give a relevant name for the column, and from the Datatype dropdown, select Lead (for which default configurations will be present). If you choose to modify any of these configurations, click
- On the Lead pop-up, under the Select Leads & Data References Fields tab, you can modify the following configurations –
- Allow Access To – Limit the lead records which would be available when adding/updating this column
- All Leads– All the leads present in your account will be available in the dropdown when adding/updating the Lead column.
- Required Data Reference Fields – Select the lead fields you want to display in your table. The Prospect ID, First Name, and Last Name fields are mandatory, and you cannot remove them. In addition to these three fields, you can add another three lead fields (6 in total).
- Allow Access To – Limit the lead records which would be available when adding/updating this column
- Once you’re done, click Next.
- The Lead Search & Display Configurations allows you to to customize lead search in your LeadSquared account by specific parameters/fields.
- Search Lead By – The Prospect ID, First Name, and Last Name fields are mandatory. Apart form that, you can add three additional fields.
- Lead Display Settings – The First Name and Last Name are mandatory fields. Apart from that, you can add one addiotnal field.
- To continue, click Save.
- If required, you can make the column Queryable and Nullable. Once you’re done, click Save. The lead data type column is now added to your table, and the data based on the lead type and lead fields selected will get populated in the table.
Note:
- Users must have column addition access in Mavis to search and select leads.
- This feature is currently in Beta Send an email to support@leadsquared.com to enable it.
- When querying via API, only the Lead ID will be returned for referenced leads.

Date, Time and DateTime Formats
The list of supported Date, Time and DateTime formats are –
| Date | Time | DateTime |
| dd-MM-yyyy | HH:mm:ss | dd-MM-yyyy HH:mm:ss |
| MM-dd-yyyy | HH:mm | MM-dd-yyyy HH:mm:ss |
| yyyy-MM-dd | yyyy-MM-dd HH:mm:ss | |
| dd-MM-yy | dd-MM-yy HH:mm:ss | |
| MM-dd-yy | MM-dd-yy HH:mm:ss | |
| dd/MM/yyyy | dd/MM/yyyy HH:mm:ss | |
| MM/dd/yyyy | MM/dd/yyyy HH:mm:ss | |
| yyyy/MM/dd | yyyy/MM/dd HH:mm:ss | |
| dd/MM/yy | dd/MM/yy HH:mm:ss | |
| MM/dd/yy | MM/dd/yy HH:mm:ss | |
| dd-MM-yyyy HH:mm | ||
| MM-dd-yyyy HH:mm | ||
| yyyy-MM-dd HH:mm | ||
| dd-MM-yy HH:mm | ||
| MM-dd-yy HH:mm | ||
| dd/MM/yyyy HH:mm | ||
| MM/dd/yyyy HH:mm | ||
| yyyy/MM/dd HH:mm | ||
| dd/MM/yy HH:mm | ||
| MM/dd/yy HH:mm |
Edit Column
To edit an existing column –
- Against the column you are looking to edit, under Actions, hover your cursor over
 .
. - From the list of options, select Edit, and make the necessary changes to the column.
- Once you’re done, click
 .
.
Note: You will not be able to edit the Datatype or the Column Id of a column.
Column Name Localization
You can localize the column display name to any of the following languages –
- English
- Española Latina (Spanish Latin America)
- हिंदी (Hindi)
- Bahasa Indonesia (Indonesian)
- Português (Portuguese)
- Tiếng Việt (Vietnamese)
- Deútsche (German Deutsch)
- Français (French)
- Suo̯meŋ Kie̯li (Finnish)
You can add special characters when localizing the column name. The minimum character limit is 1, and the maximum character limit is 100. You can localize the column name when adding a new column, or by editing an existing column.
Note: Only one name can be added per language (locale).
When Adding a Column –
- After providing the column name, under Column Name, click .
- From the Select Locale dropdown, choose the language.
- Under Column Name, enter the localized name.
- To add more options, click Add.
- Once you’re done, click Save.

When Editing a Column –
- Against the column you are looking to edit, hover your cursor over , and click Edit.
- From the Select Locale dropdown, choose the language.
- Under Column Name, enter the localized name.
- To add more options, click Add.
- Once you’re done, click Save, and then click .

Delete Column
To delete an existing column –
- Against the column, you’re looking to delete, under Actions, hover your cursor over the icon.
- From the list of options, select Delete.
- On the Delete Column pop-up, click Confirm.
Notes:
- To know the status of the delete request, navigate to the Request History page.
- When you delete a column, this also deletes all the data stored in this column.
- Any existing API integration that’s dependent on the deleted column might not work as intended, once the column is deleted.
- When the delete column Request Status is Table Operation Queued or Table Operation In-Progress –
- All data operations (such as Add Rows, Update Rows, Delete Rows and Truncate Table) requests will be under Table Operation Queued.
- You will not be able to Add, Edit or Delete a column.
- You will not be able to perform the Restore Table action.

Switch Tables
To switch between different tables in the same database –
- On the Table Definition screen, navigate to the Switch Table dropdown on the top-right corner of your screen.
- From the dropdown, select the table you want to switch to.
Next Steps
To know how to perform actions on the Data screen, please refer to Manage Data.


